Create your first blog post
This walkthrough covers the full path from opening the visitor site to publishing your first article on a local ReactPress install. If you have not bootstrapped a project yet, start with Create your first site.
Prerequisites
reactpress init(or an equivalent start command) has finished and services are running- Visitor site:
http://localhost:3001by default - Admin:
http://localhost:3001/admin/by default
Open the visitor site
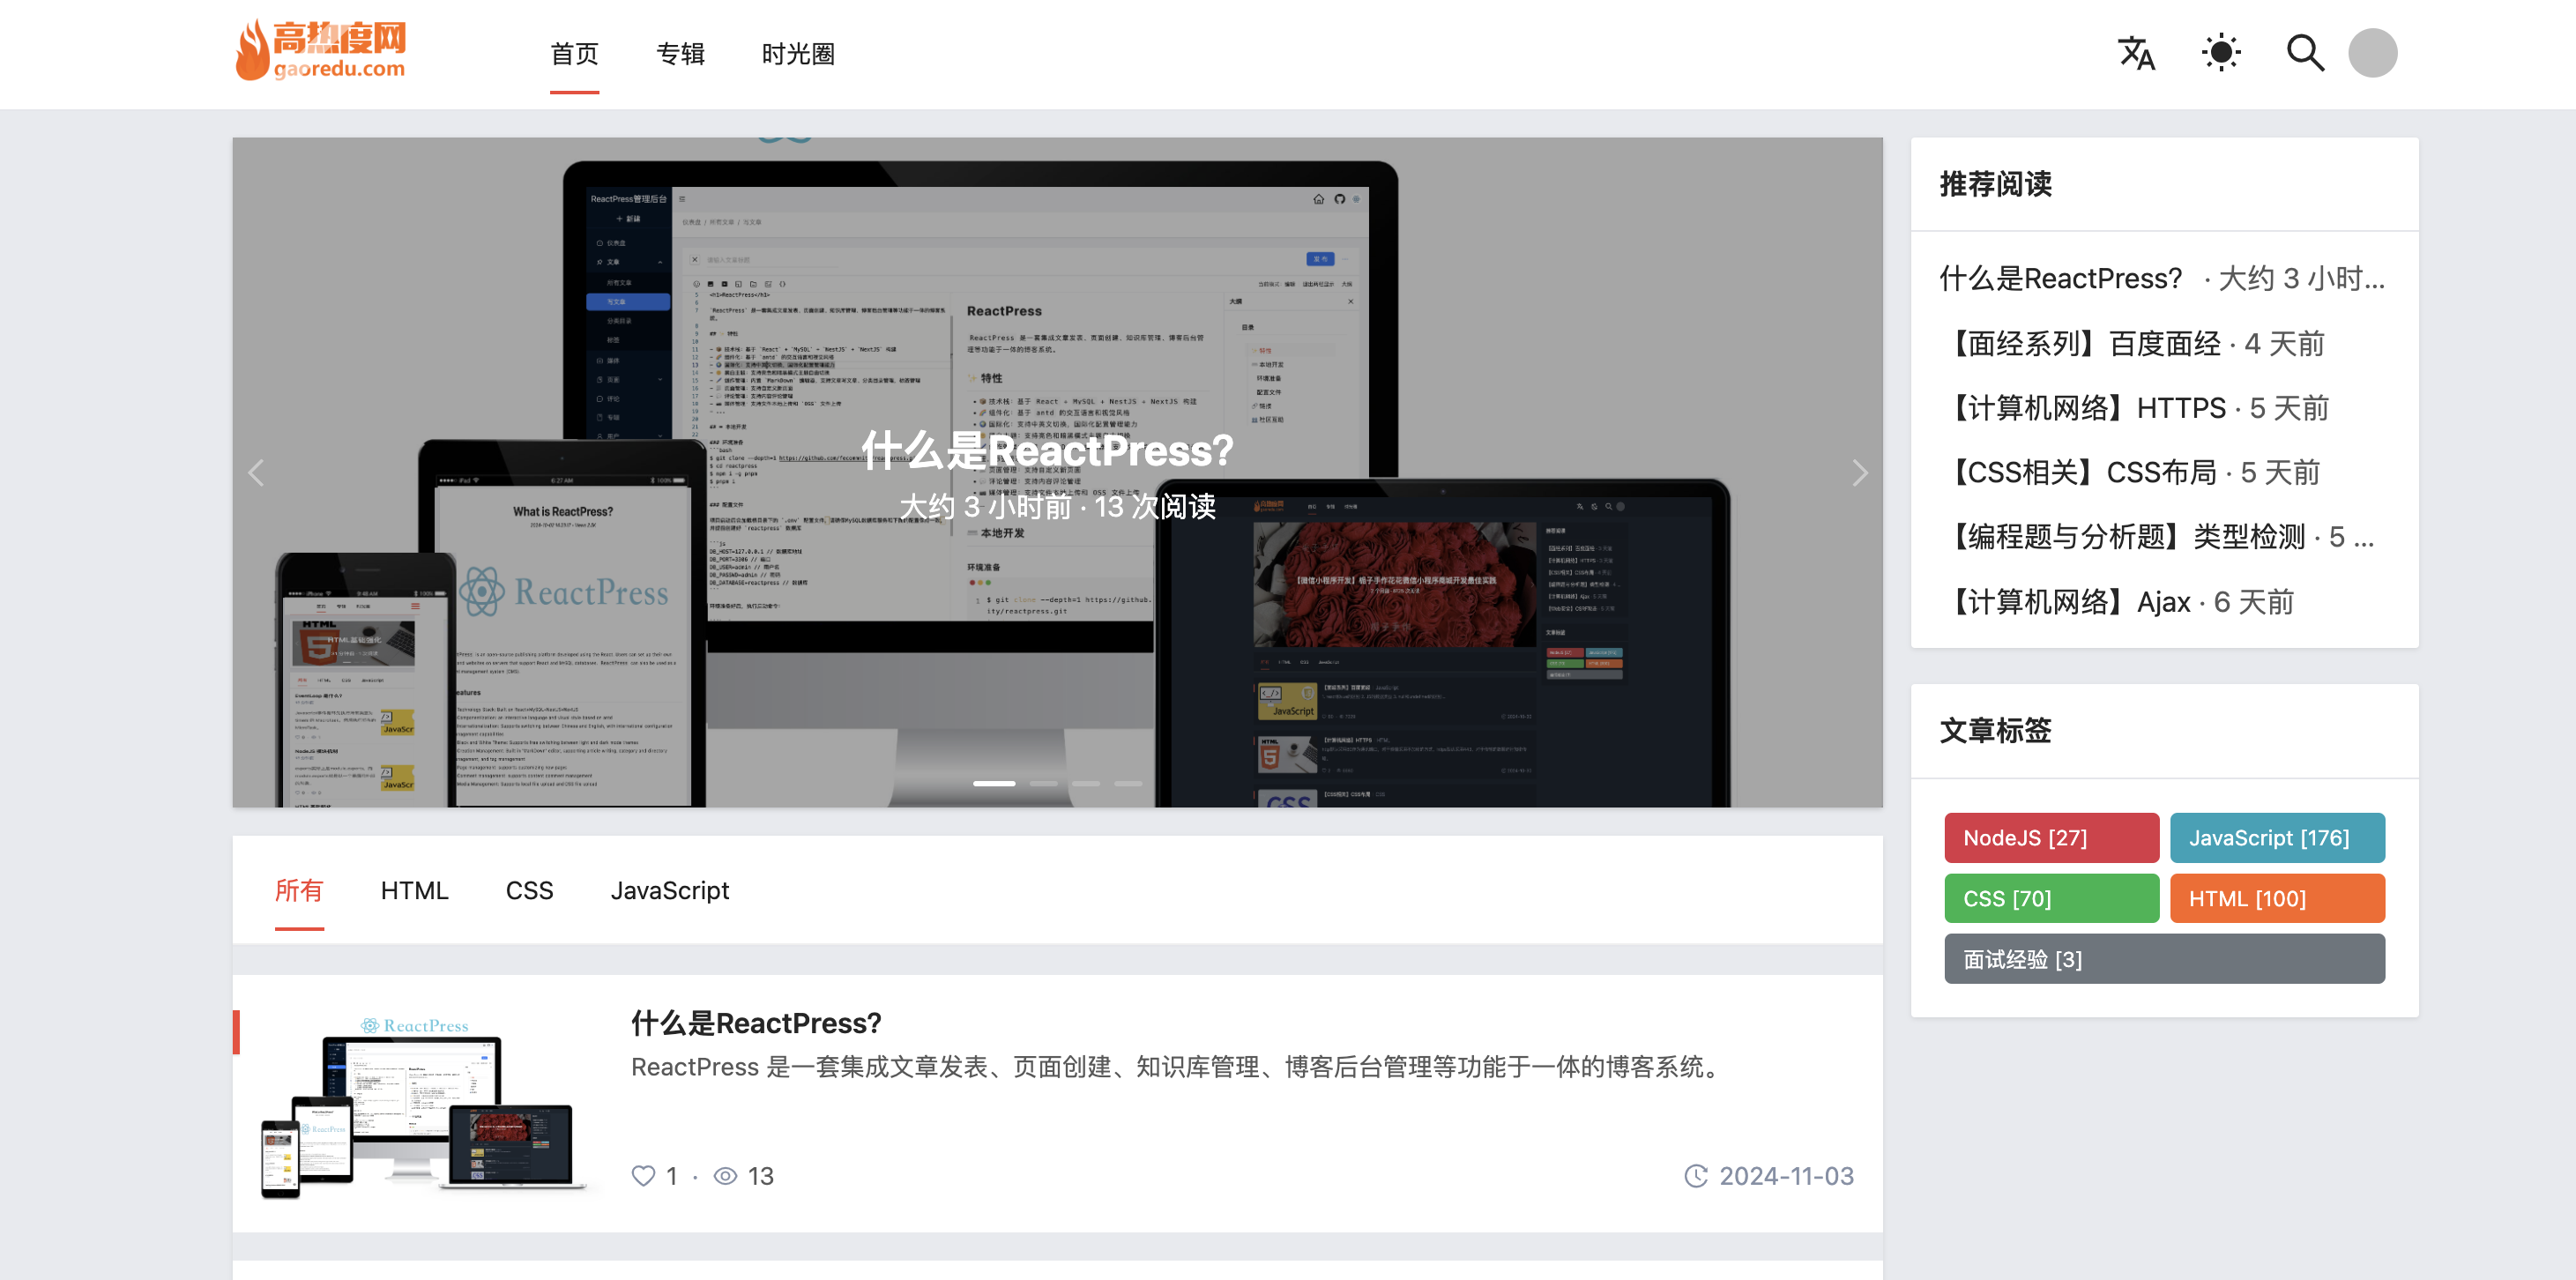
With a theme active, open:
http://localhost:3001
You should see the theme home page. Content comes next — publish from Admin.
Register and sign in
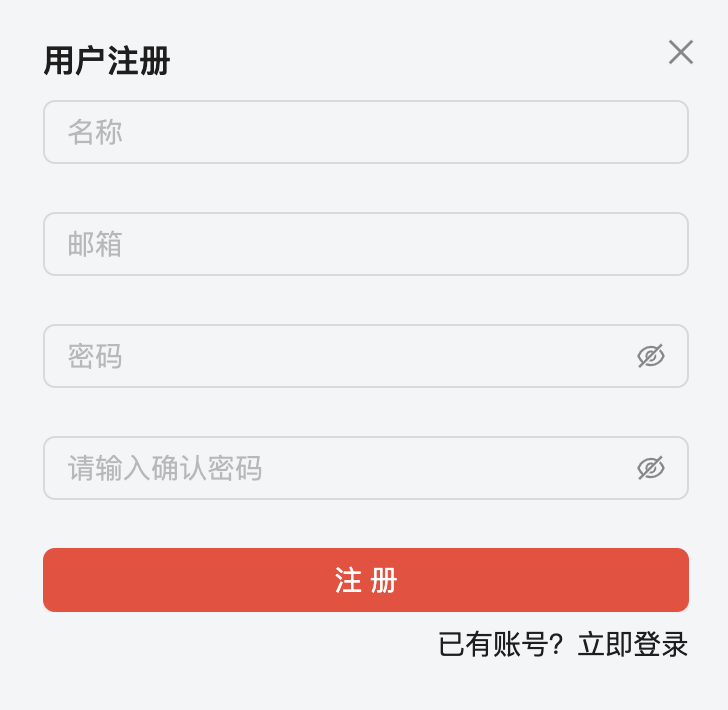
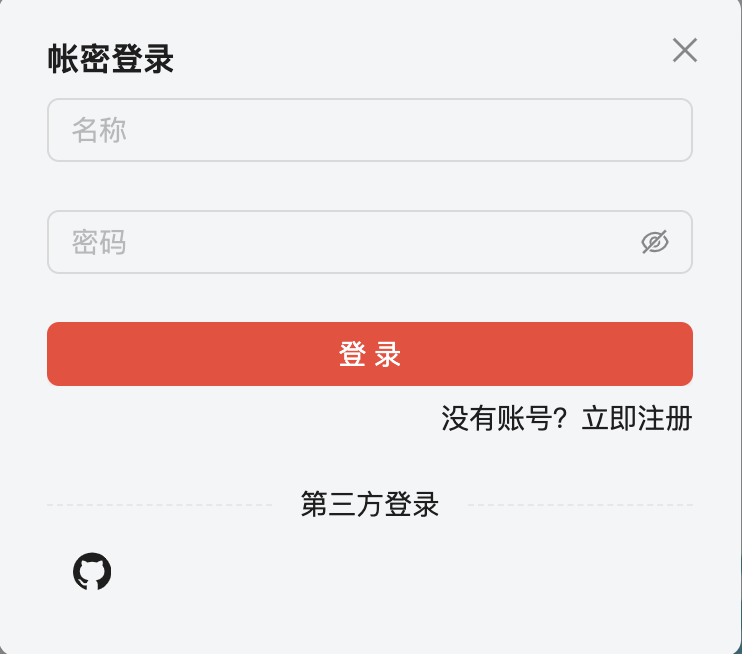
- Open the login page (themes usually expose Login / Register)
- Register an account first
- Sign in with that account
Open Admin
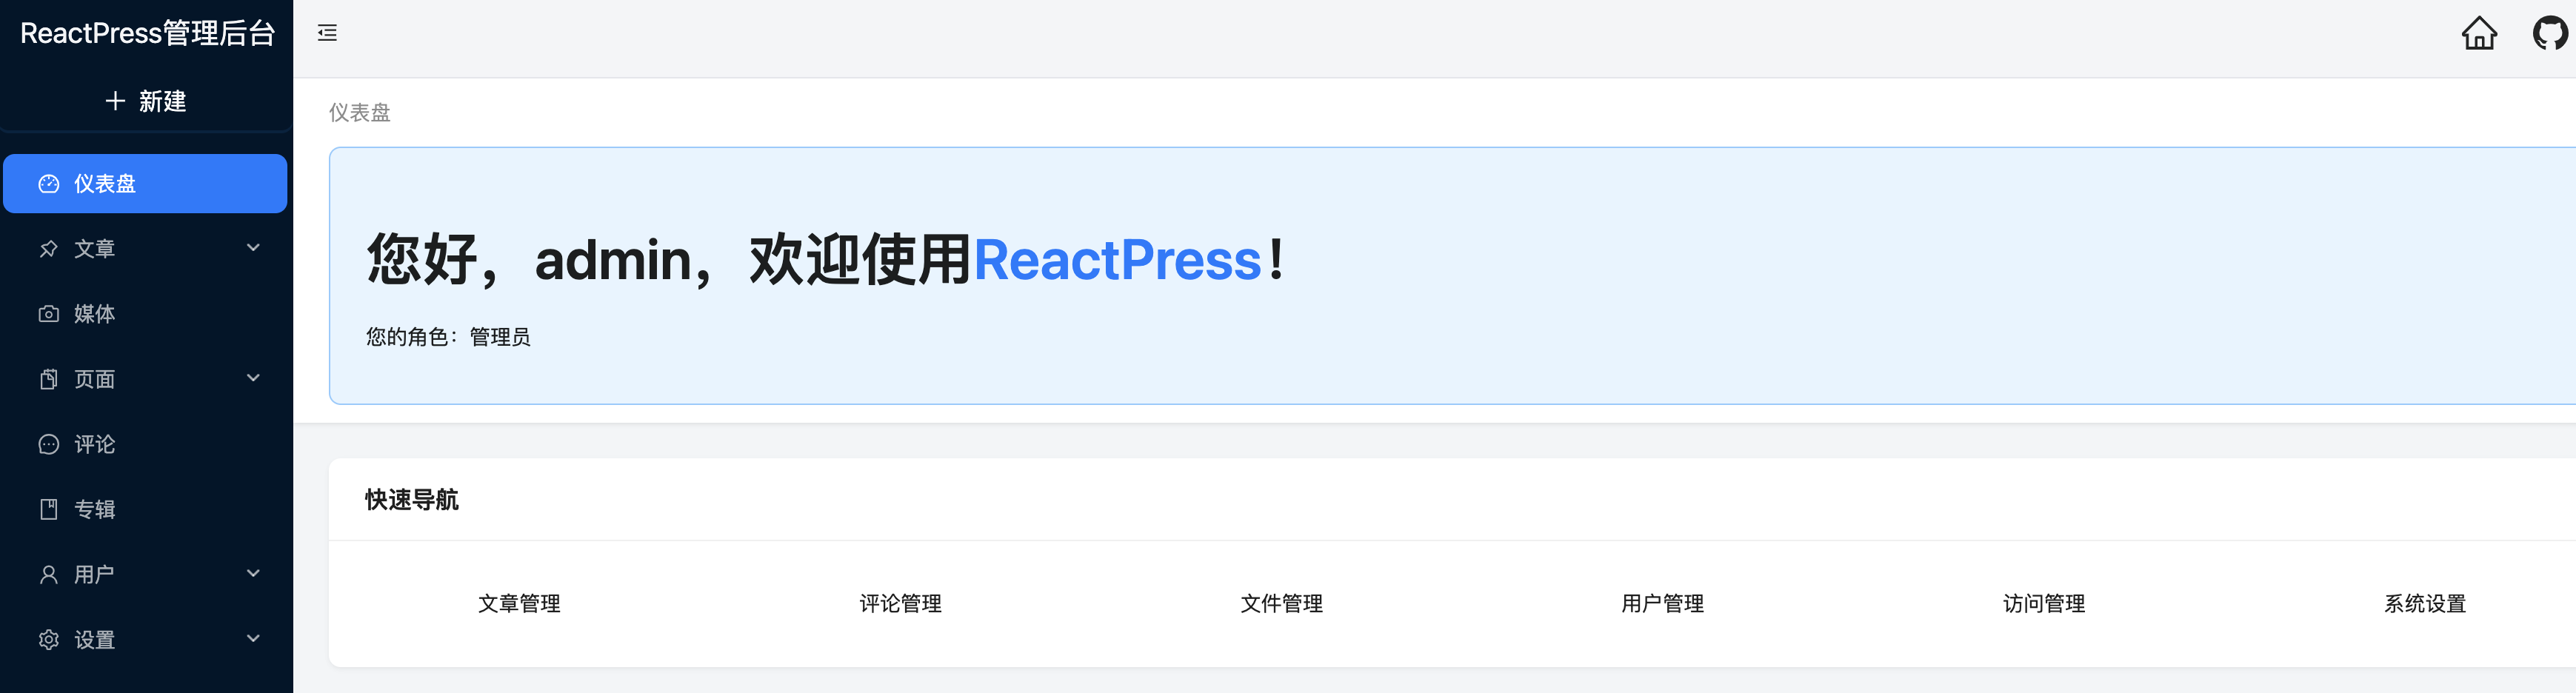
Admin URL:
http://localhost:3001/admin/
reactpress init mounts Admin on the same port as the visitor site. After login you land on the dashboard.
Create a post
- Sidebar: Posts → Add New
- Enter a title (required)
- Write the body in the Markdown editor (live preview supported)
- Optional: cover image, excerpt, categories, tags, URL slug
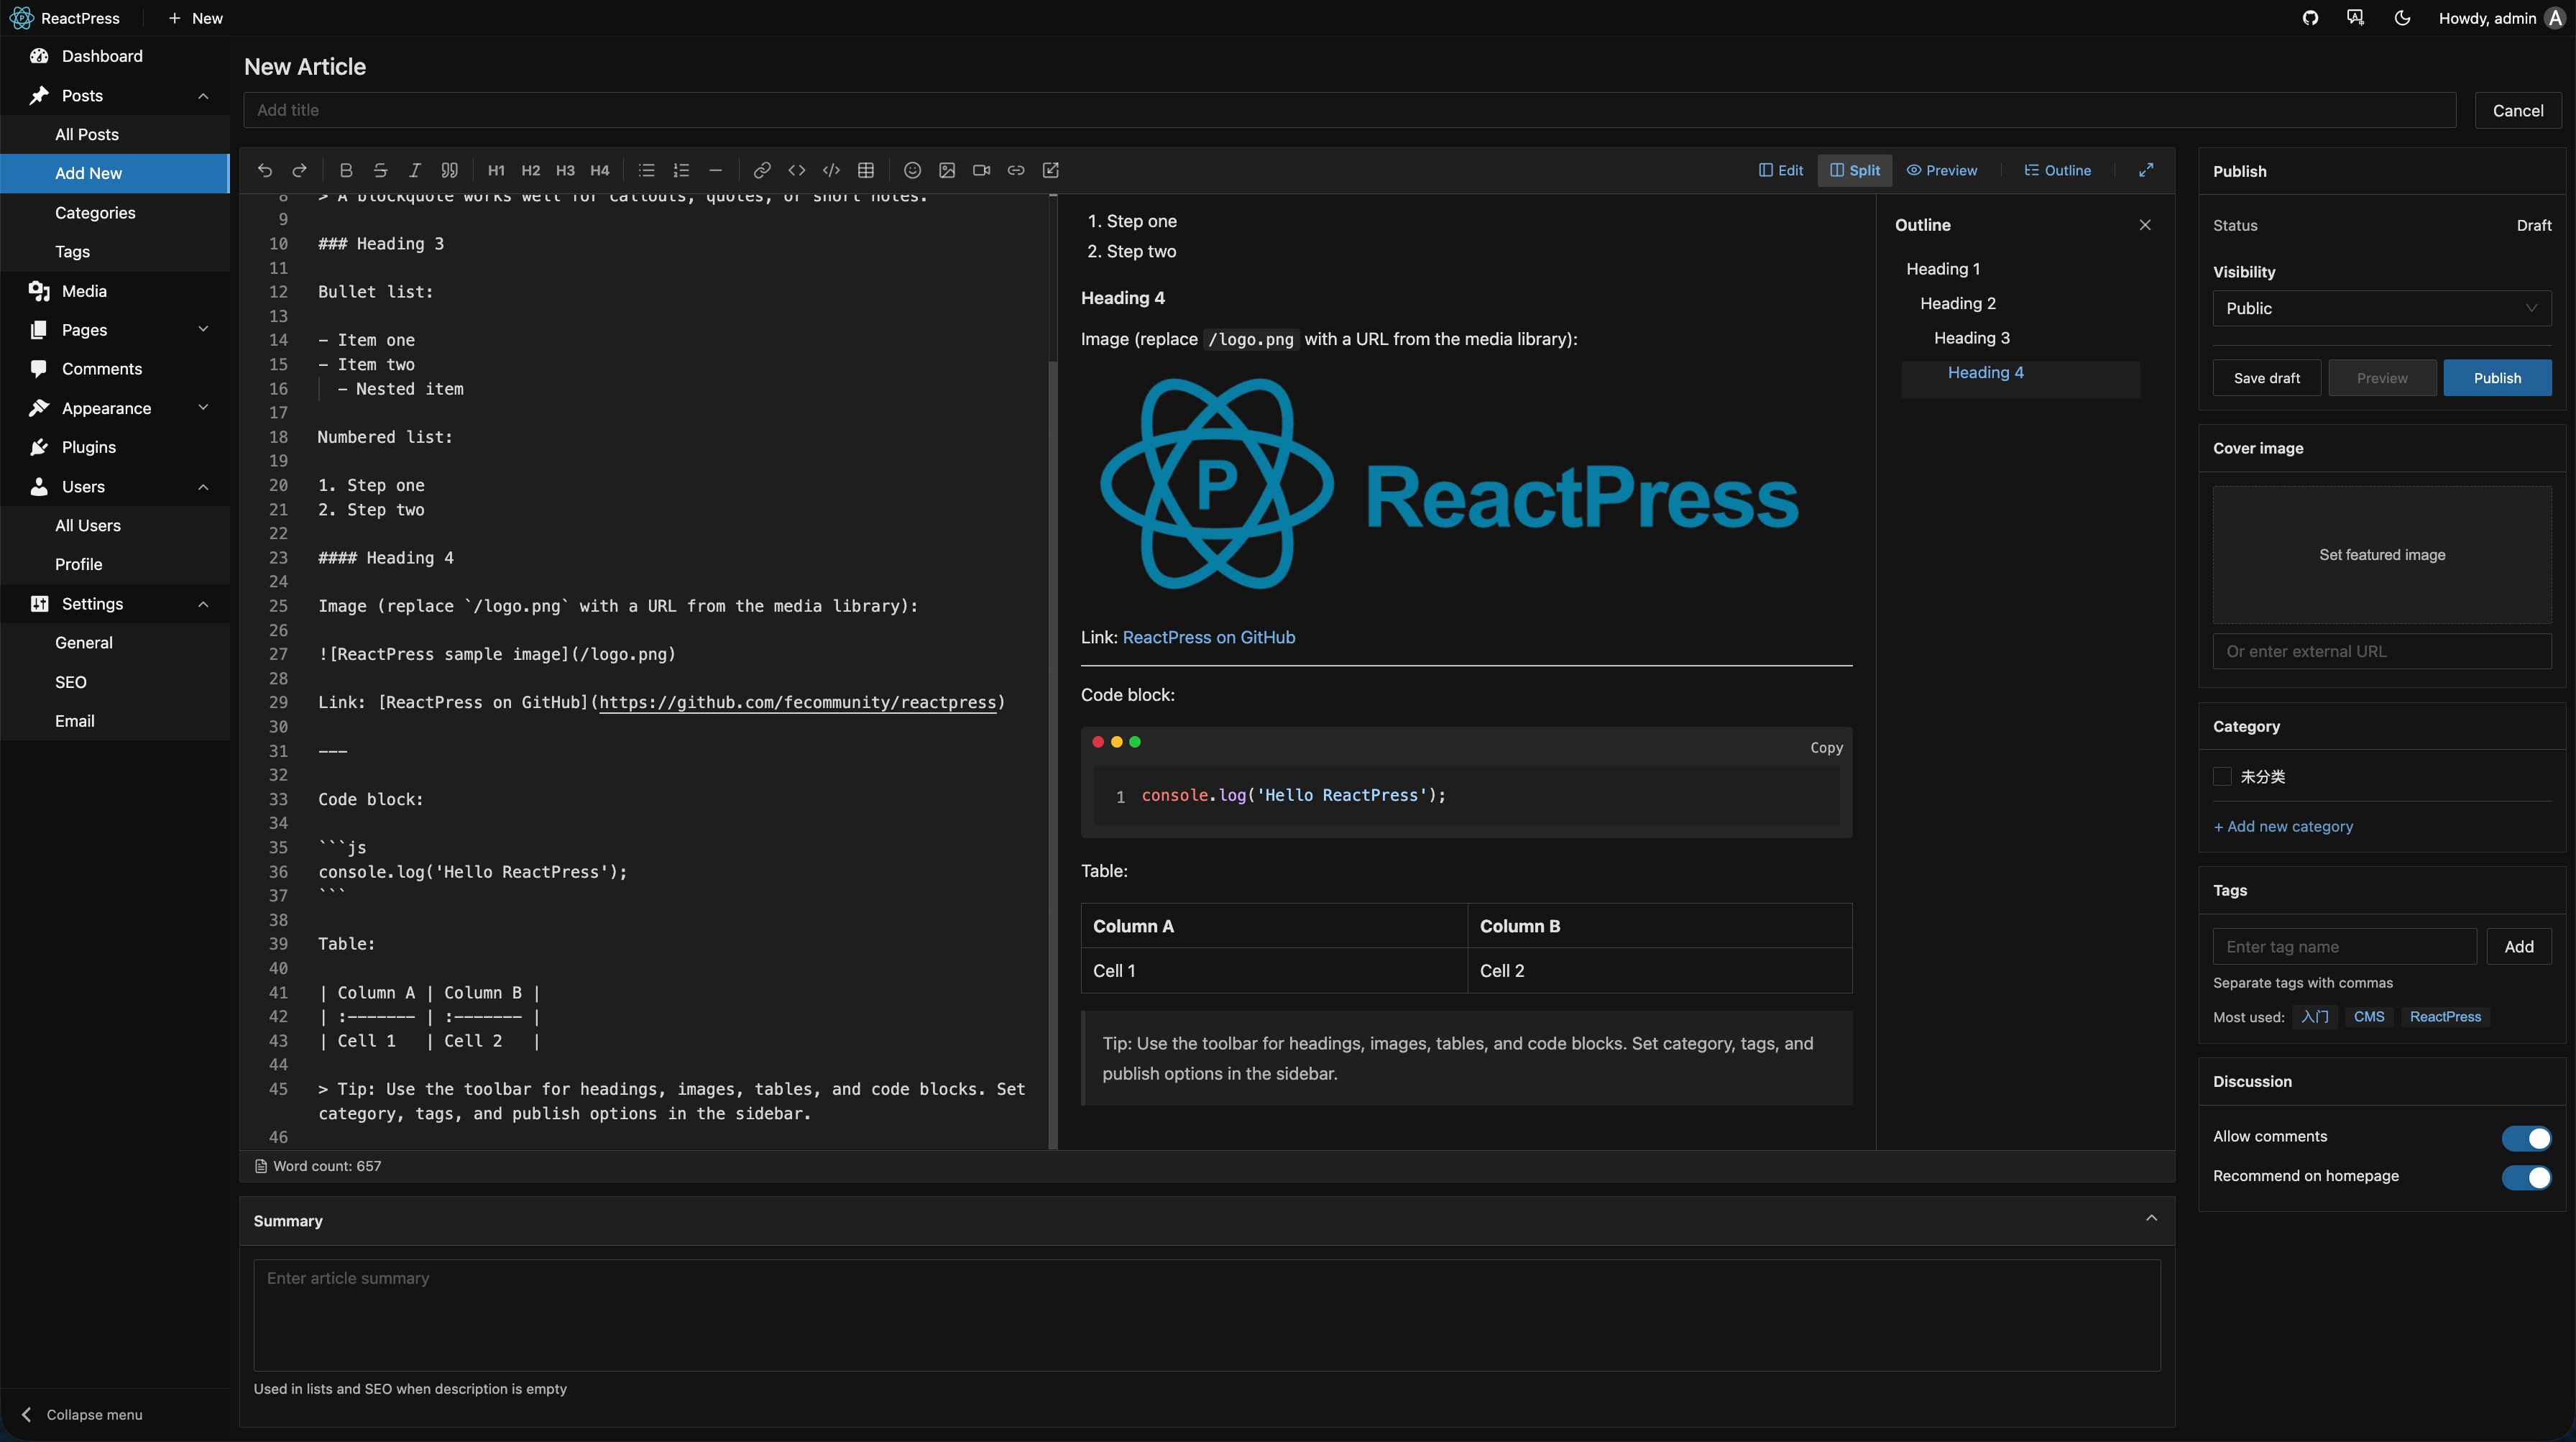
Field details: Content management.
Publish
- In the Publish panel, set visibility (public / draft)
- Click Publish
- Refresh the visitor site and confirm the post appears
Your first article is live.
Next steps
- Content management — drafts, trash, pages, taxonomies
- Media library — covers and inline images
- Site settings & SEO — meta, sitemap, production checklist